Pinhole Cameras:
A pinhole camera is a simple camera without a lens but with a tiny aperture, a pinhole, effectively a light-proof box with a small hole in one side. Light from a scene passes through the aperture and projects an inverted image on the opposite side of the box, which is known as the camera obscura effect.
A pinhole camera is a simple camera without a lens but with a tiny aperture, a pinhole, effectively a light-proof box with a small hole in one side. Light from a scene passes through the aperture and projects an inverted image on the opposite side of the box, which is known as the camera obscura effect.
How to make a pinhole camera:
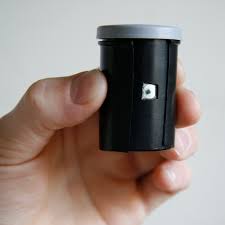
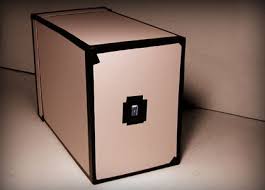
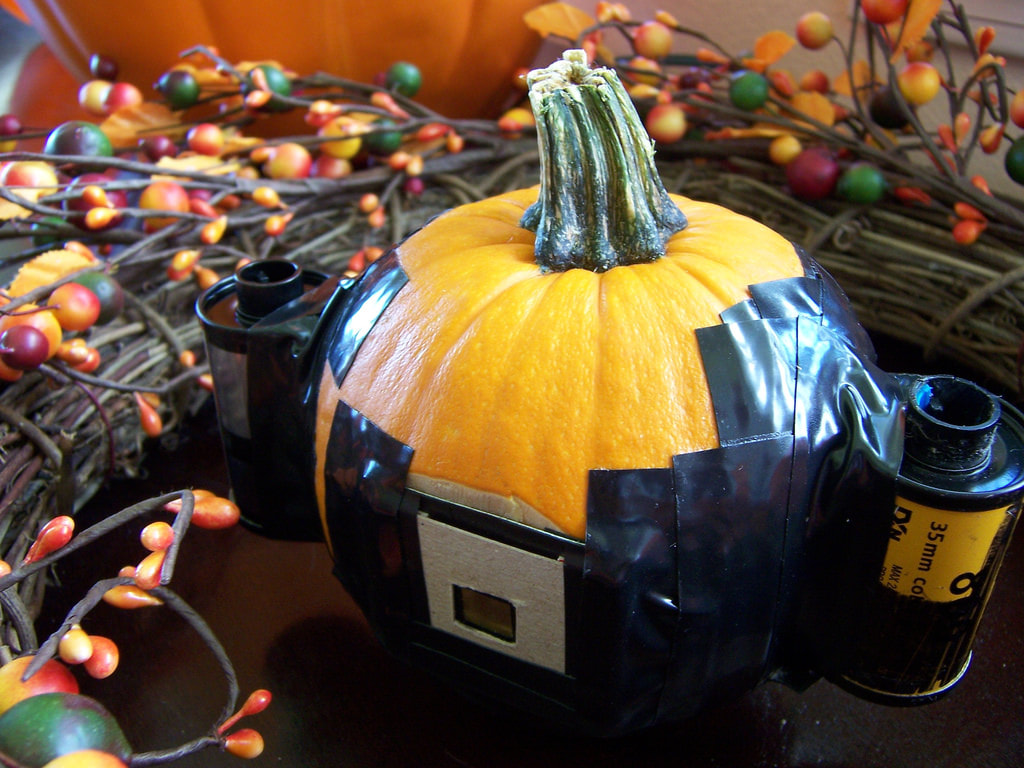
1.Choose a cylindrical or rectangular can or box. Pick a container that is about the size of a normal camera and is clean. For instance, you could use an old paint can, an oatmeal container, a shoe box, or a coffee can. Be sure that your container has a tight-fitting top.
2.Paint your container black inside and out. You can also cover your container completely with aluminum, but be sure to avoid any tearing. Covering your camera prevents any light reflection from occurring on the inside of the can.- Make sure you paint the entire lid of your container.
- Allow the paint to dry completely before moving on to the next step.
- If any paint chips off before your use your camera, make sure to repaint it before taking any photos.
3.Determine the size of your pinhole. The distance between the film and the pinhole will affect the outcome of your photos. The film will be on the opposite side of the container from the pinhole, so most likely on the lid if you are using a can.- The size of the pinhole is important because it determines how sharp or blurry your final photo will be.
- For a container with a 3 to 6-inch distance between each end, use a No. 10 sewing needle pushed about halfway up the needle shaft to make your pinhole.
- Try to make the pinhole as clean of a circle as possible. Twisting the needle as you poke it through helps to make a cleaner hole.
- 4.Make the pinhole in the bottom end of the container. You can either poke a hole directly through the bottom of your container using a pin, or you can cut a larger hole about 1/2-inch by 1/2-inch out of the bottom of your container and poke a pin through a separate piece of paper or thin metal. The second method is usually preferred as it allows you to make a more perfect circle and start over if you mess up the first time.
- If you choose the second method, take heavy black paper or thin metal and poke the pin through the center of the 1/2-inch square. Then secure the piece over the larger hole using strong tape such as electrical tape.
- Sturdy aluminum foil, malleable metal from a food product container, or cardstock all work well for the second method.
- Check that your pinhole is circular by looking through the back of the camera where the film will be and peering through the hole. Make sure that you can see whatever is on the other side of the pinhole clearly. A page of printed words works well for determining clarity.
Examples:


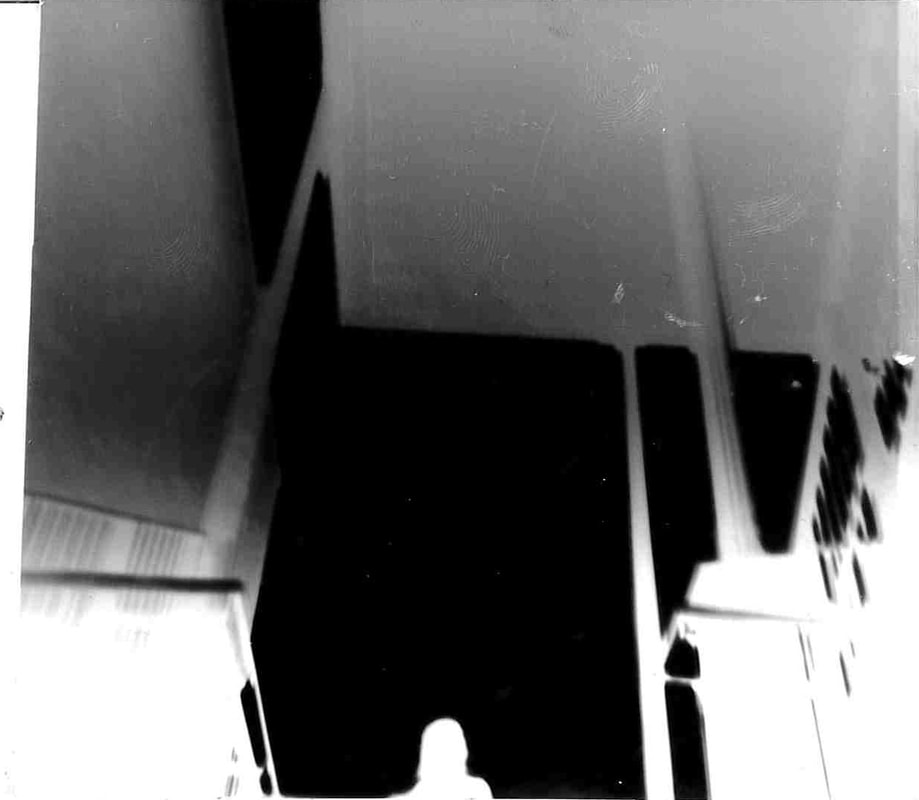
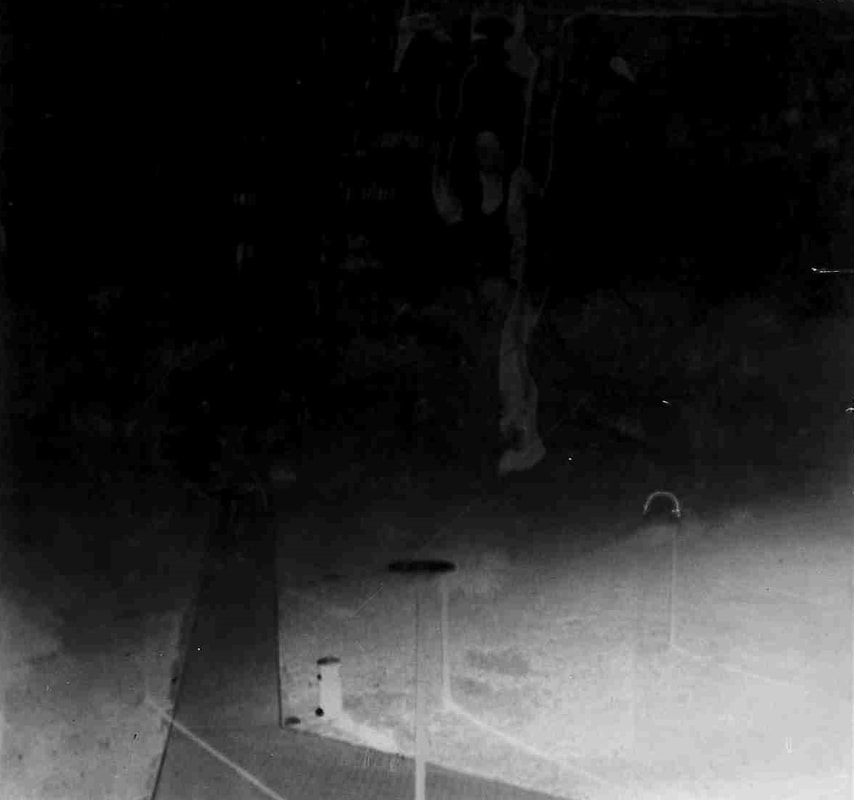
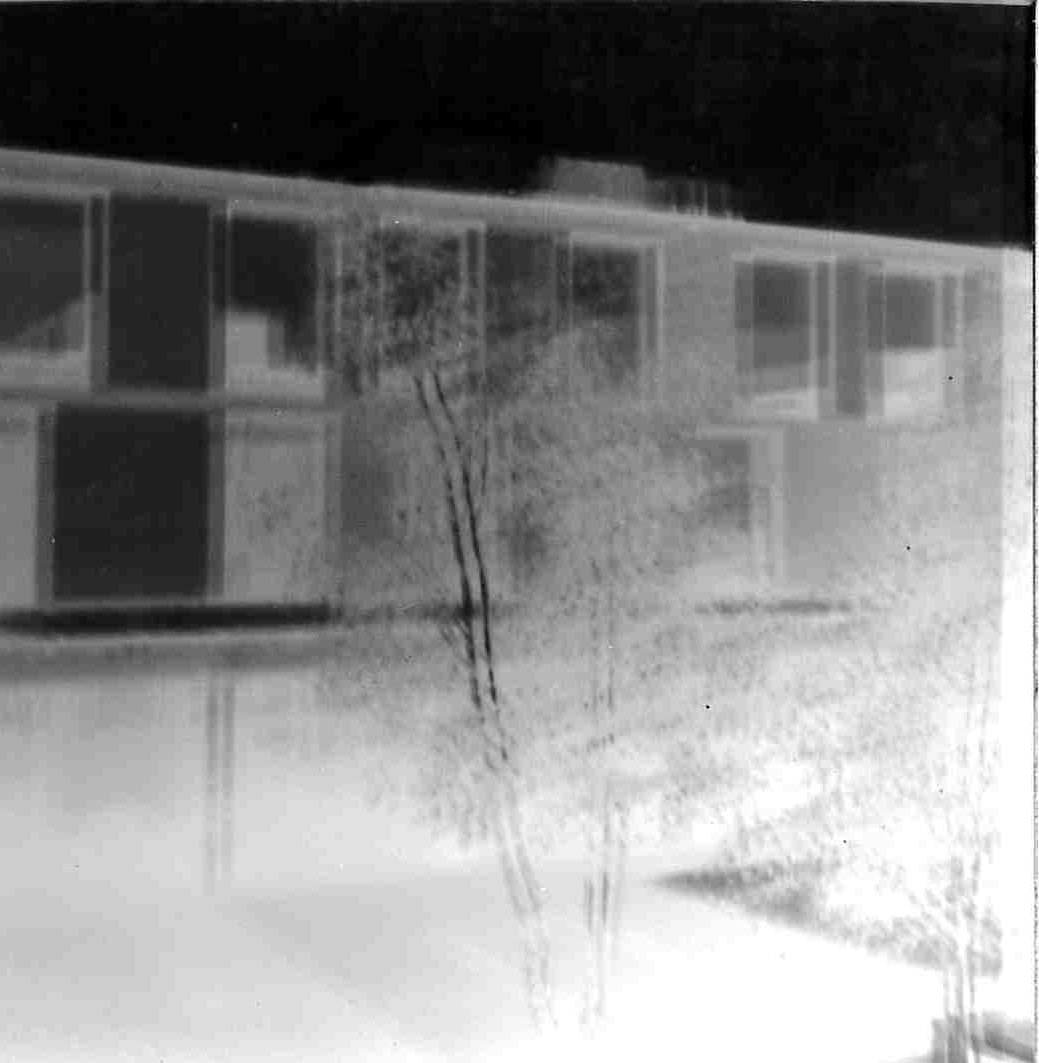
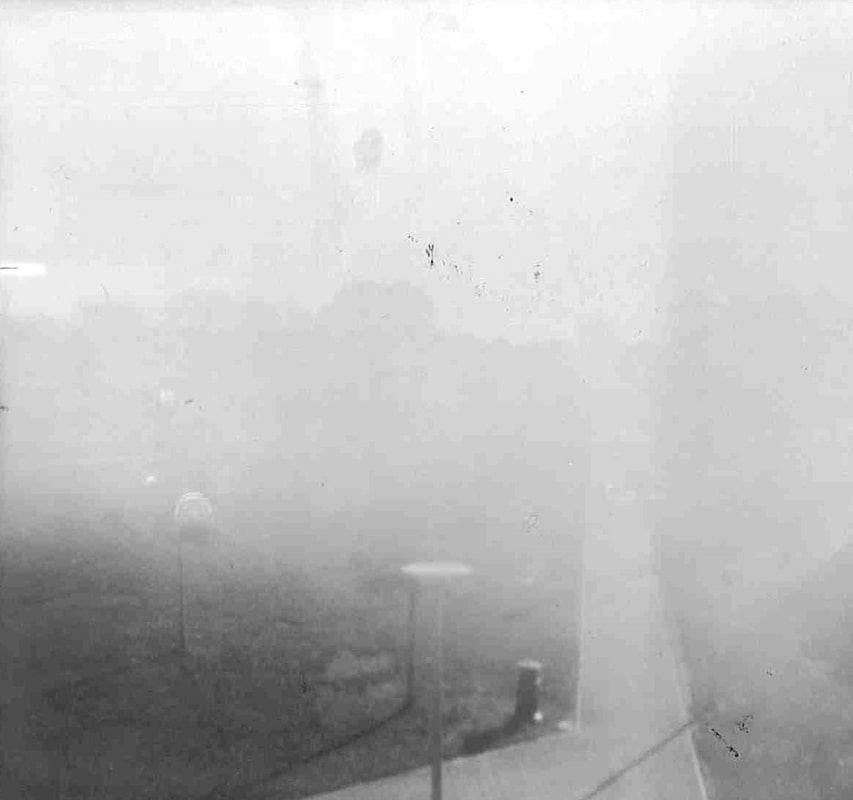
My own Pin Hole camera pictures:


Evaluation:
WWW:
|
WWW:
|
